|
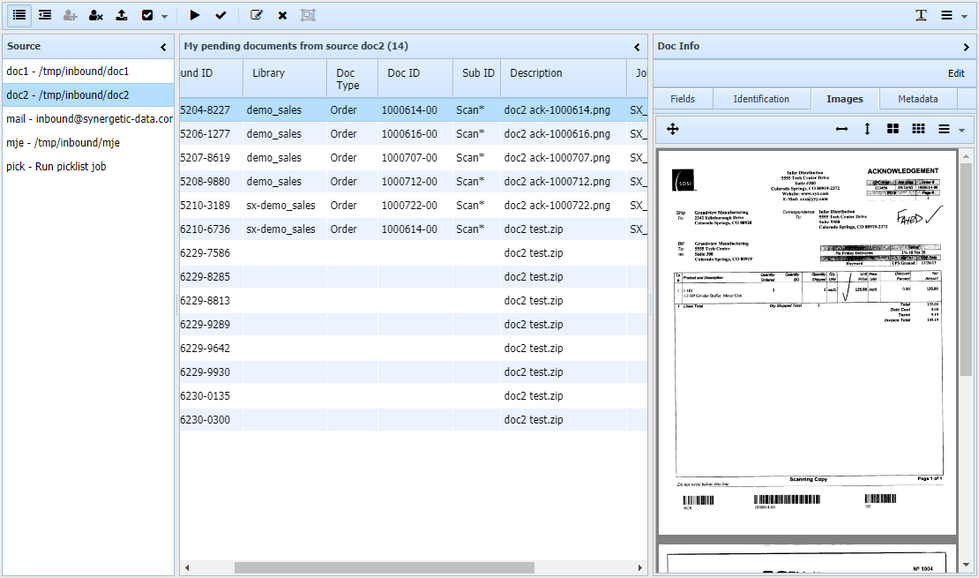
After logging in, the main browser window is shown. There are three panels and primary toolbar menu. The left panel shows a list of inbound sources. The center panel shows a list of documents, either those currently assigned to the user (also called pending documents), or those available for self-assignment. The columns in this panel are sortable. The right panel shows the last-selected document, with four tabs: custom fields, identification fields, images, and meta data. The images tab has its own toolbar for page and zoom control.
Toolbar Buttons
| • | My pending documents, displaying those documents assigned to me in the selected inbound source library. You may select all or some of the documents in this list to apply additional processing, such as running jobs or transferring validated documents to document archive libraries.
|
| • | Show available documents, displaying documents in the selected source library that are not yet assigned to a user. When you select documents in this list, the Assign documents to me button is enabled.
|
| • | Assign documents to me, assigns the selected documents to me, so they appear in the My pending documents, and can be edited.
|
| • | Unassign/Release selected documents, will unassign the selected documents, and move them to the available documents list so other users can self-assign them.
|
| • | Upload local files, enables uploading of files from the user's system to the user's pending list. Uploaded documents are auto-assigned to the user, and pre-selected for further processing.
|
| • | Selection buttons perform mass selection chores, such as selecting those that pass validation.
|
| • | Run jobs runs displays the Run Jobs screen, where you can run jobs against the selected images. Jobs can be auto-detected, or assigned by the user.
|
| • | Transfer Ready documents moves selected documents, though only those that pass all validation tests (indicated by the Ready column), to their respective target document archive libraries. If jobs assigned to documents contain preupload or postupload code, this code is run at this time.
|
| • | Manually set values displays the manual set values screen, where the user can update document identification fields, such as library, doc type, doc ID, and more, on the selected documents. A job designer user can also create jobs that set specific values automatically.
|
| • | Delete selected removes the selected images from the inbound library. They are no longer available after this operation.
|
| • | Merge selected combines the images and properties of the selected documents. Images are appended, and categories, keywords, and links are merged.
|
| • | Merge matching combines the images and properties of selected documents with matching identification, that is matching library, doctype, docid, and subid values. Only documents with all four values can be merged. This process can result in several multi-page documents, depending on the identification values of the selected documents.
|
| • | Reprocess/OCR selected resets any OCR and barcode data and re-processes the selected images, as if they had just been received. This feature is useful if you have updated software such as PDF reading tools.
|
| • | Fit columns to data resizes the columns in the center panel to show all column data.
|
| • | Edit Job Definitions displays the job configuration window, where a job designer can create and edit job definitions.
|
| • | Job History displays the job history window, where logs of previously run jobs can be viewed.
|
| • | Script Libraries displays the custom code editor, where a job designer can create and edit custom filter, validation, lookup, and set values routines. These routines contain Basic code similar to code blocks in UnForm print jobs, to enable programmatic control over field assignments, data validation, external integrations, and more.
|
| • | Assign Documents, available to administrators, displays all assigned and unassigned documents in every inbound source library, and enables assignment (or unassignment) to any Image Manager user.
|
| • | Force reprocess with OCR re-parses selected documents using OCR, even if the original files were PDF with text data. Some text data cannot be successfully read from PDF files and better results may be obtained by forcing an OCR process. This option is only available if Tesseract is configured in UnForm.
|
| • | Logout exits the Image Manager and returns to the login screen. |
|